Breads are one of the most common and versatile foods consumed all over the world. While there are many types of breads, yoghurt bread is becoming increasingly popular for its soft and fluffy texture. If you’re looking to make yoghurt bread at home, here’s a guide on how to make the best bread possible.
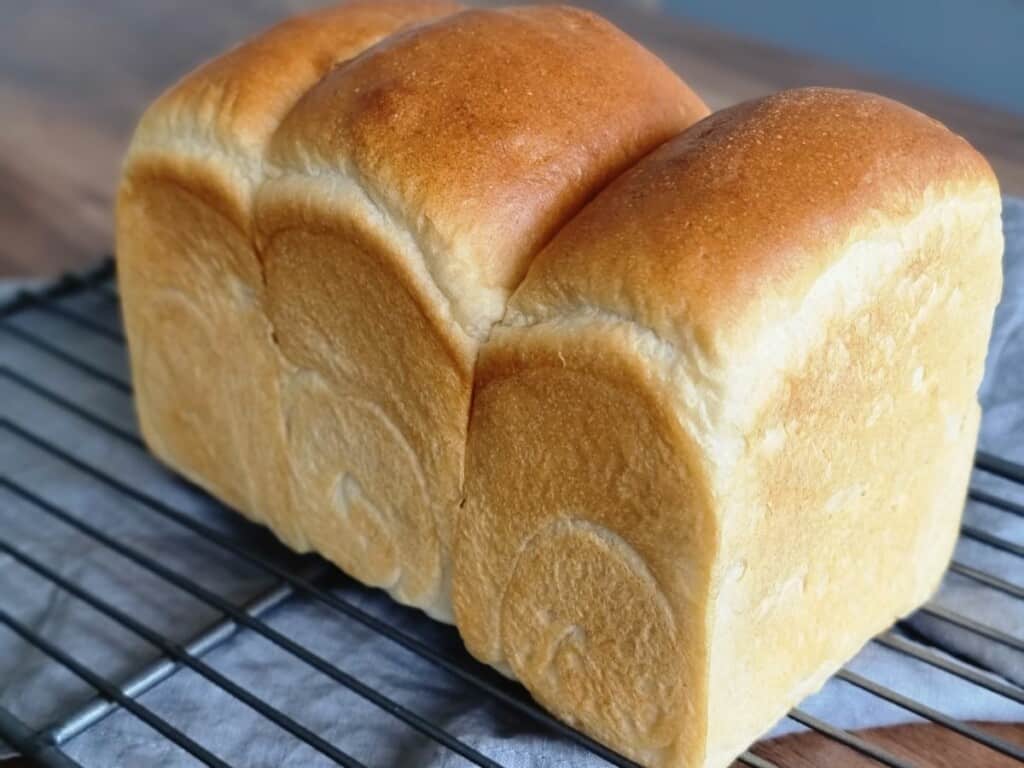
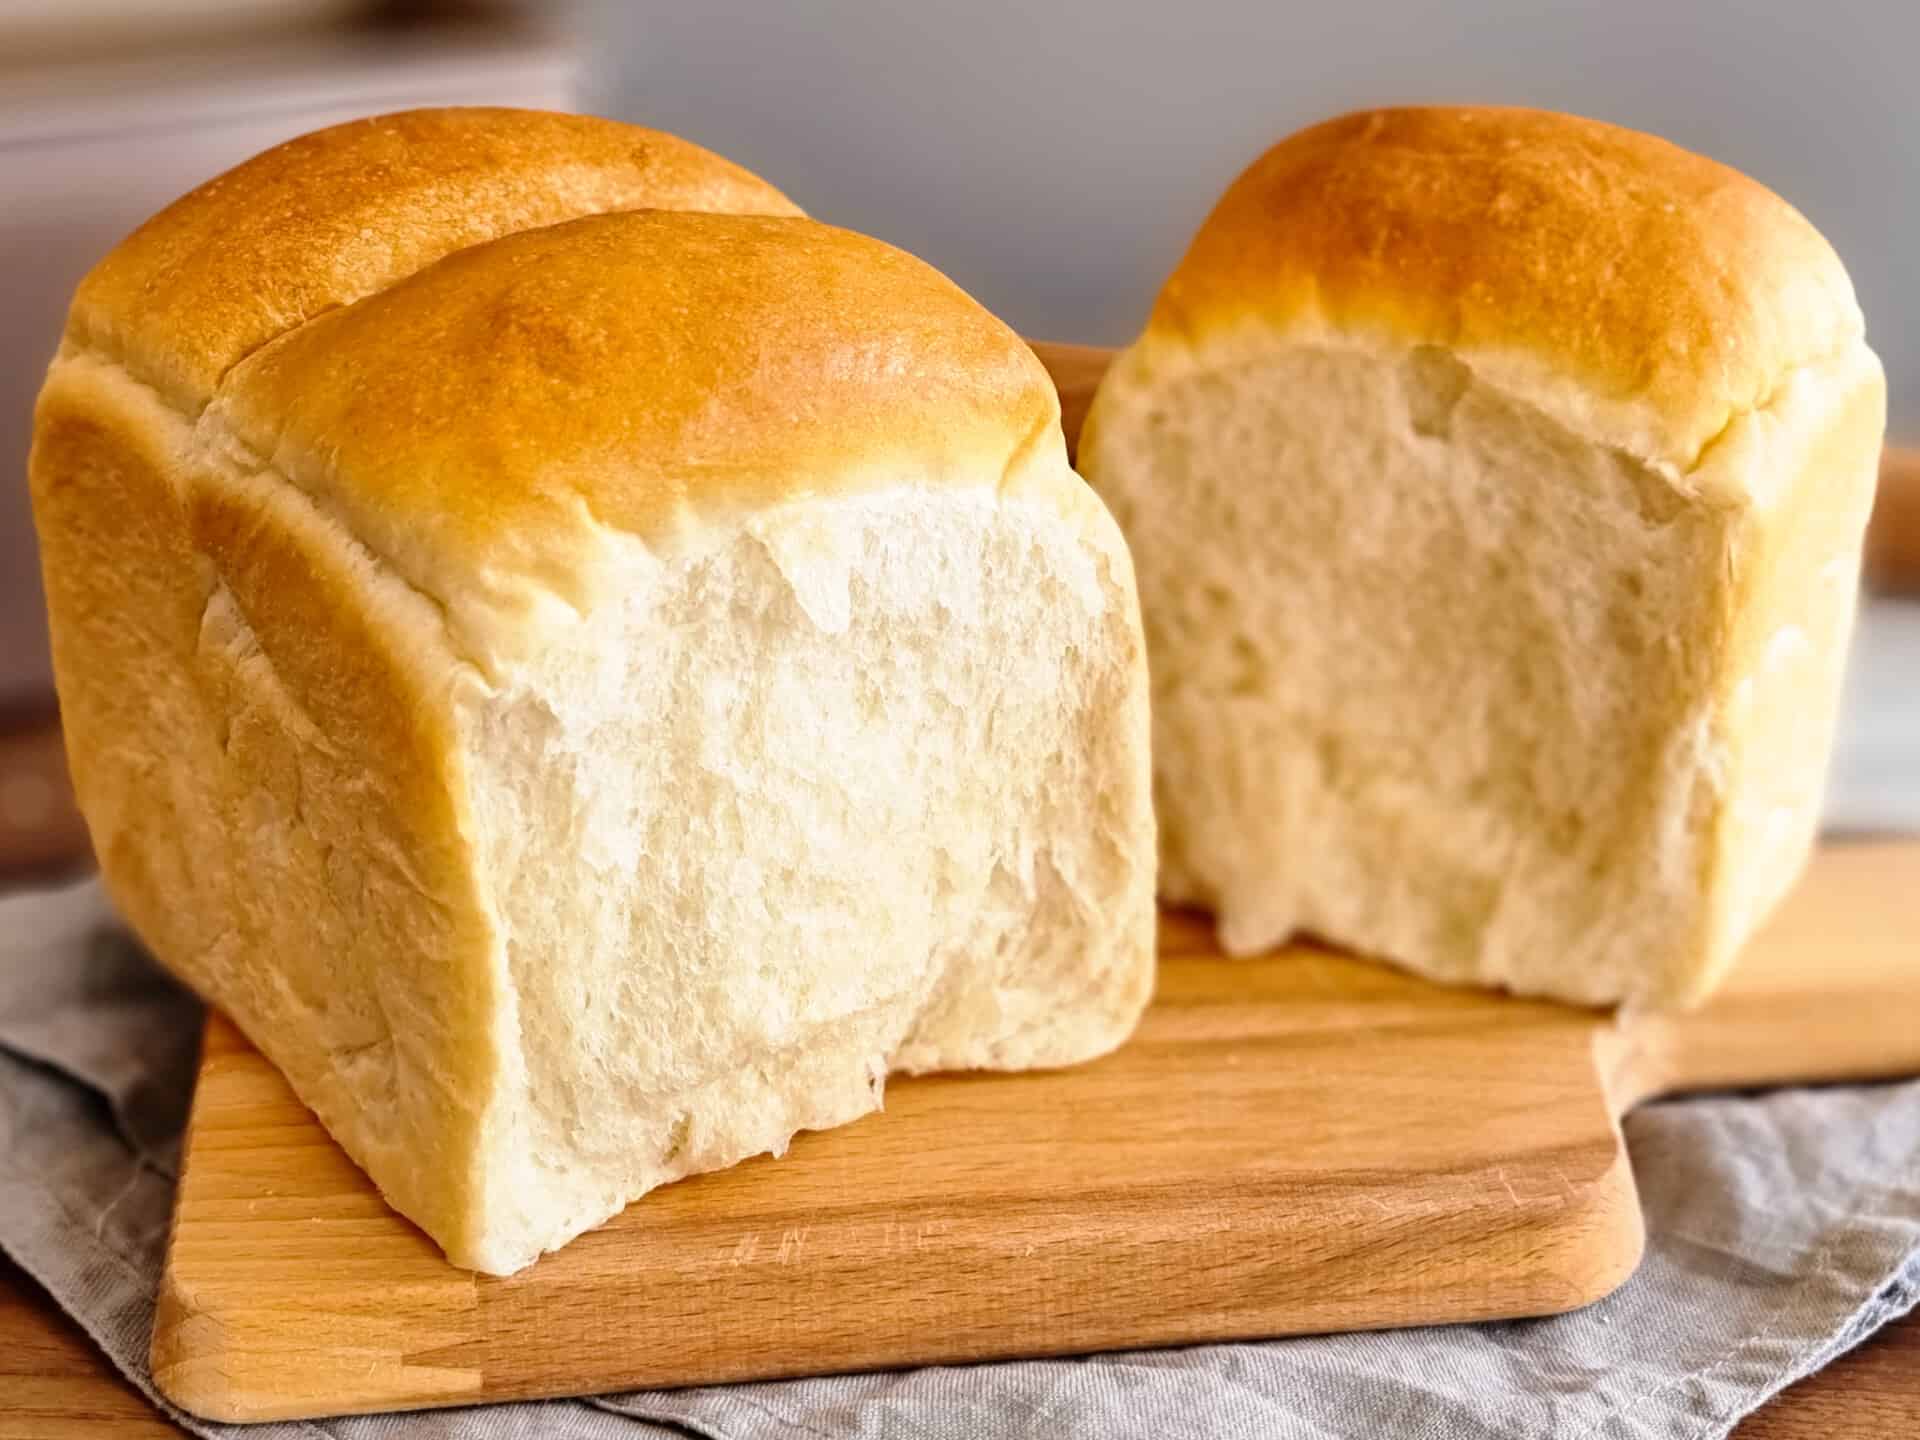
In this guide, i’ll be teaching you how to make a Japanese style bread also known as Shokupan, which is soft, light and fluffy. By using a high-fat content yoghurt, as well as a combination of flour, yeast, and salt, you’ll be able to create a bread with a soft and fluffy texture. Additionally, by adding condensed milk, you’ll ensure that the bread remains moist and doesn’t become dry or crusty.
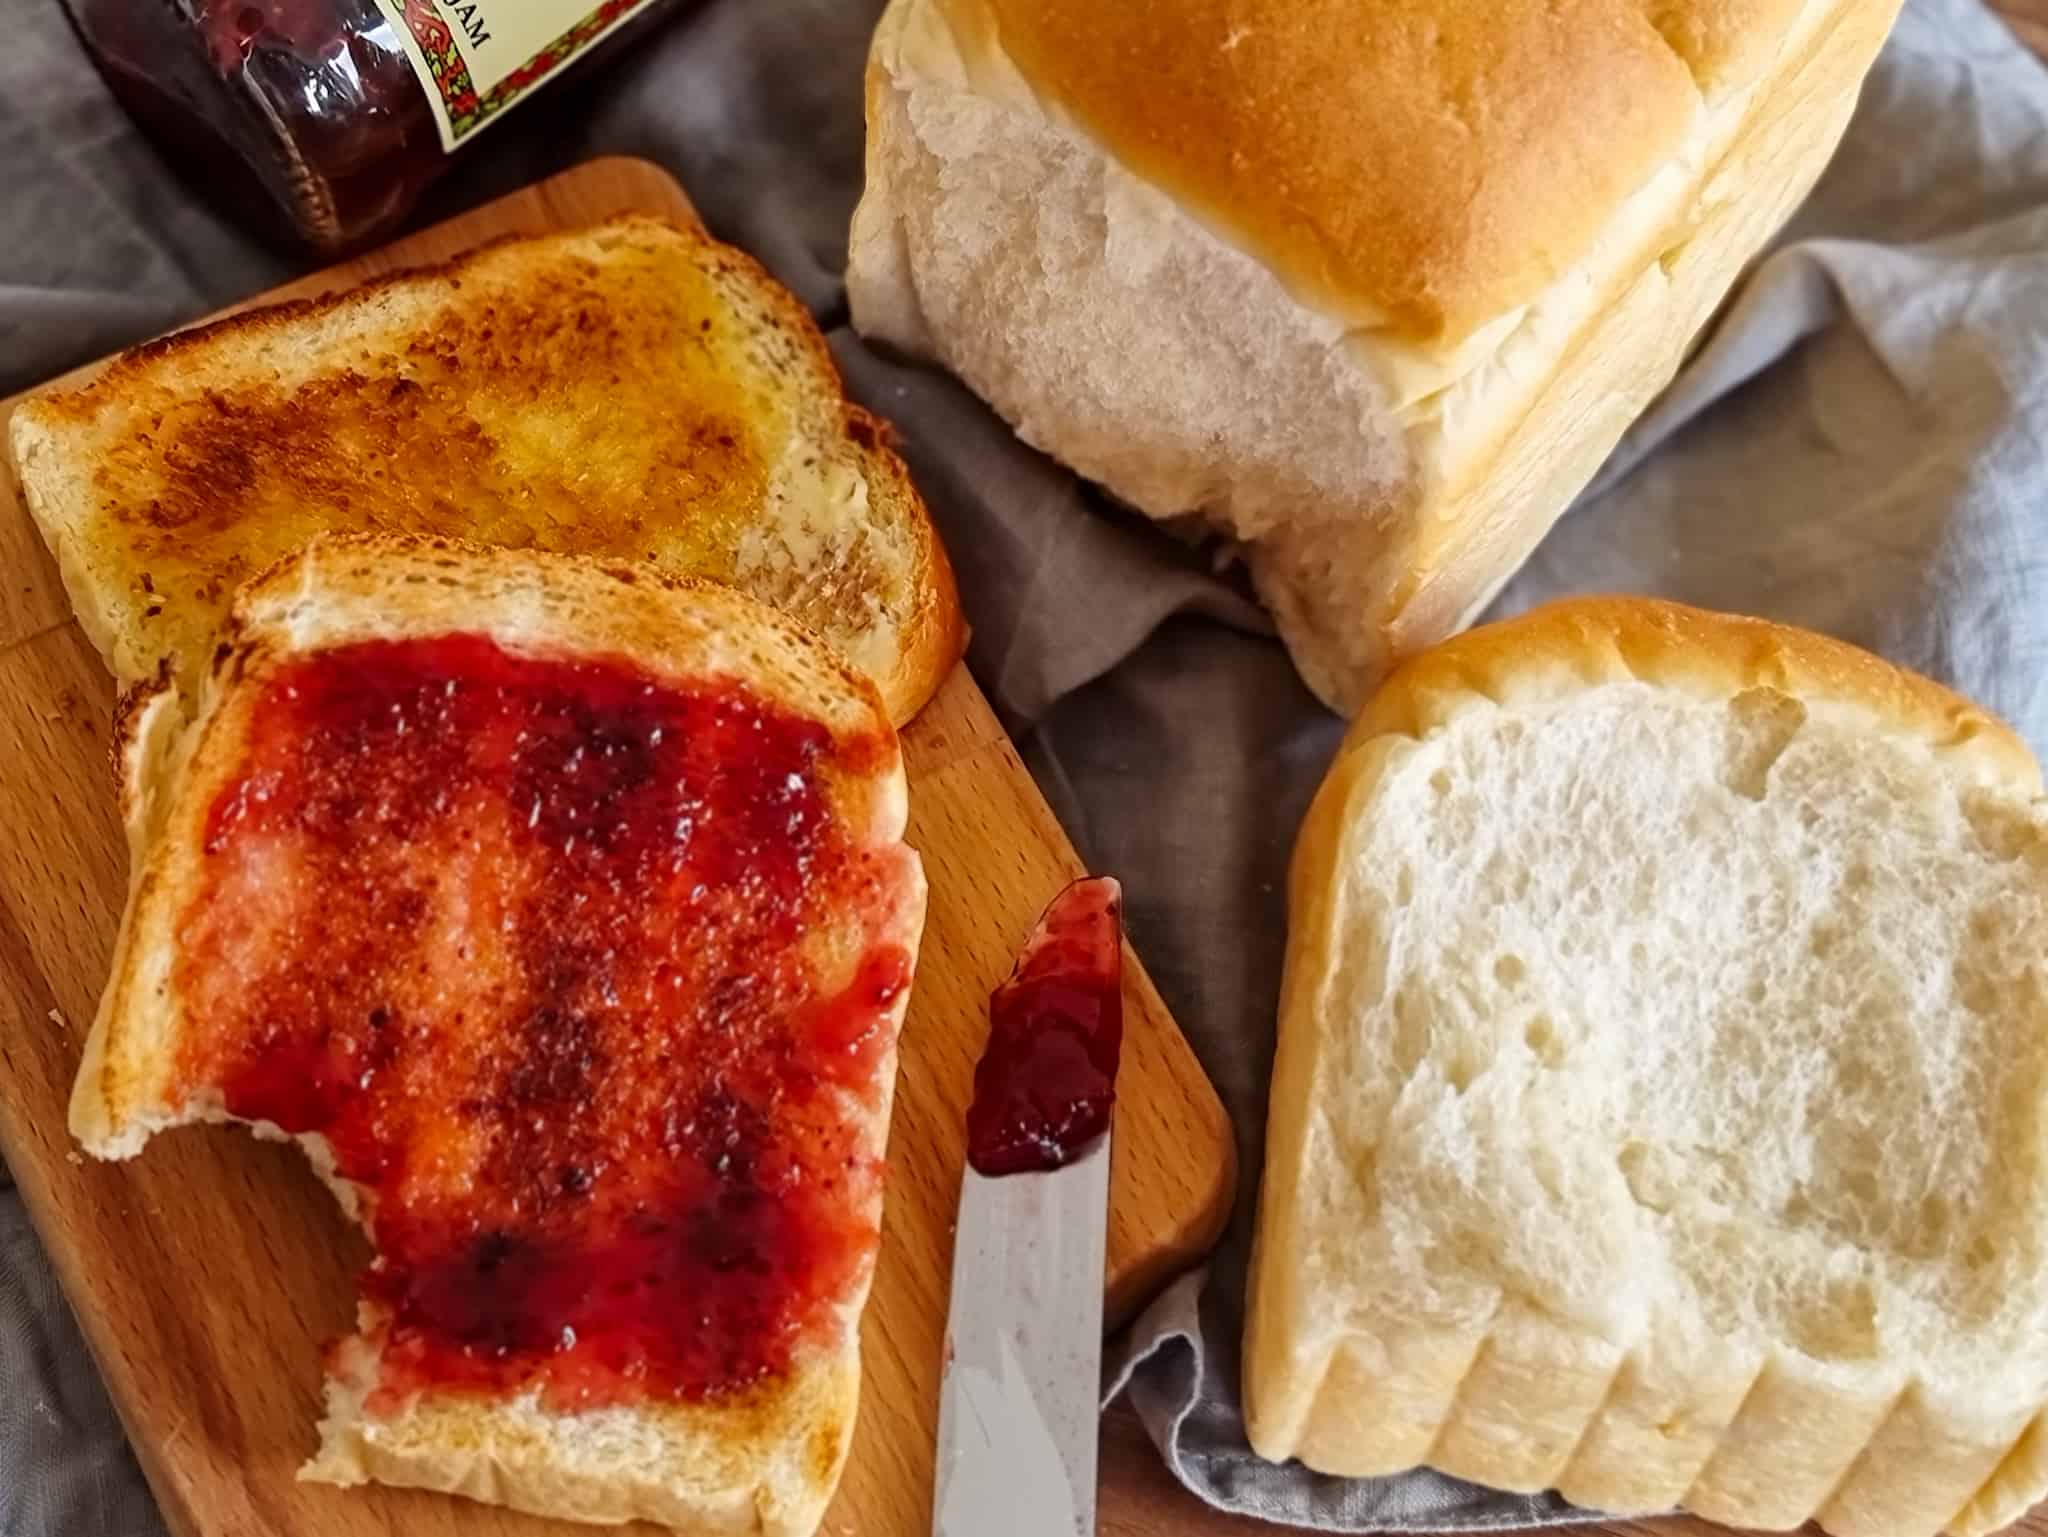
Whether you’re looking for a simple and easy bread recipe, or you’re simply looking for a delicious and unique meal, make yoghurt bread at home and enjoy!
Why use Yoghurt in Bread?
Yoghurt is a naturally high-fat food, which makes it a great choice for bread dough. The high-fat content thickens the dough and creates a fluffy, soft texture. Additionally, the yoghurt reduces the chances of the bread becoming dry and crusty.
What is the Japanese bread making technique?
There are a few different Japanese bread-making techniques that can be used to produce the fluffy, soft breads. The technique I use, is to use a combination of flour, yeast, and salt. This mixture is then mixed with yoghurt, which helps to create a softer and moister bread.
Why add condensed milk to bread?
Condensed milk is a popular addition to bread dough for a few reasons. First, it helps to add moisture to the dough. Second, it provides a rich flavour that complements the other ingredients in the bread. Finally, it helps to prevent the bread from becoming dry and crusty.
Soft & Fluffy Yoghurt Bread
Equipment
- 1 Bread Baking Tin(0.99LB, 450g dough capacity) Size: 21.1*12*11cm
- 1 Mixing Bowl
- 1 Bread Cutter
- 1 Spatula
- 1 Oven
Ingredients
- 270 g Bread Flour or Strong Flour
- 4 g Quick Yeast
- 4 g Salt
- 15 g Caster Sugar
- 25 g Condensed Milk Room temperature
- 95 g Greek Yoghurt Room temperature
- 110 g Water If it is a warm day then just use room temperature water, otherwise if its a cold day you should use warm water around 25C-30C.
- 25 g Unsalted Butter Room temperature
Instructions
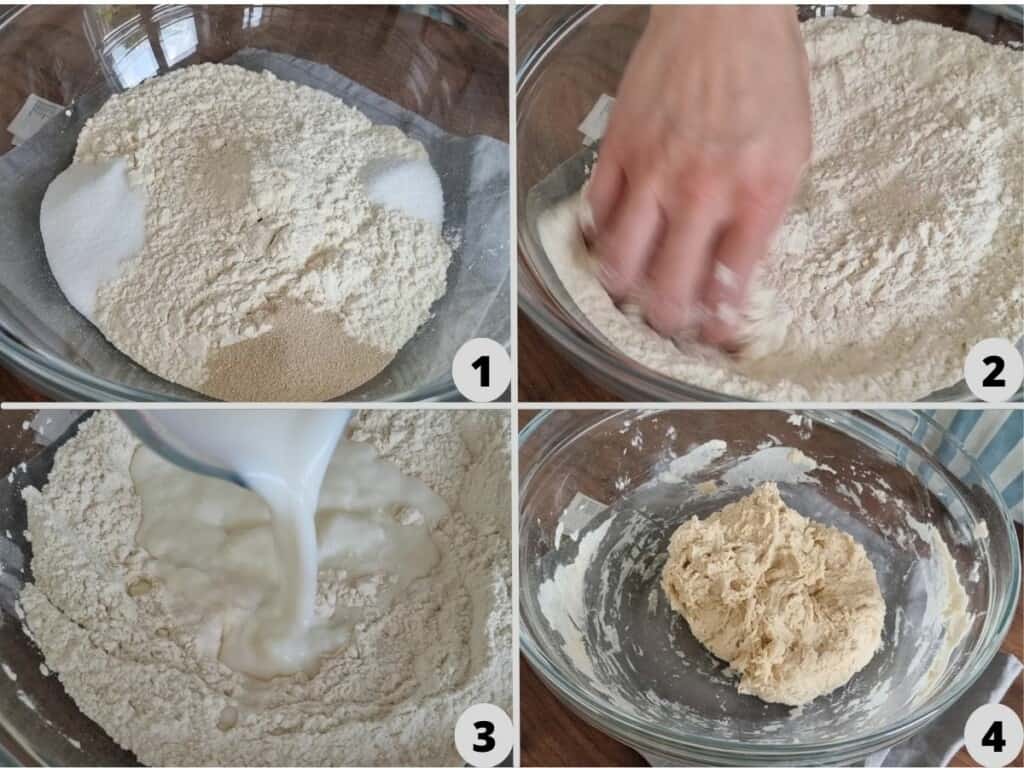
- In a mixing bowl add the bread flour, then in separate areas of the bowl add in the yeast, sugar & salt. Using your hand or spatula, give all the dry ingredients a good mix. Next add in the yoghurt & water and again using your hand or spatula, mix until there are no dry bits in the bowl.
- Turn the dough out onto the work surface and start to knead it for 5 to 10 minutes or until the gluten has formed.
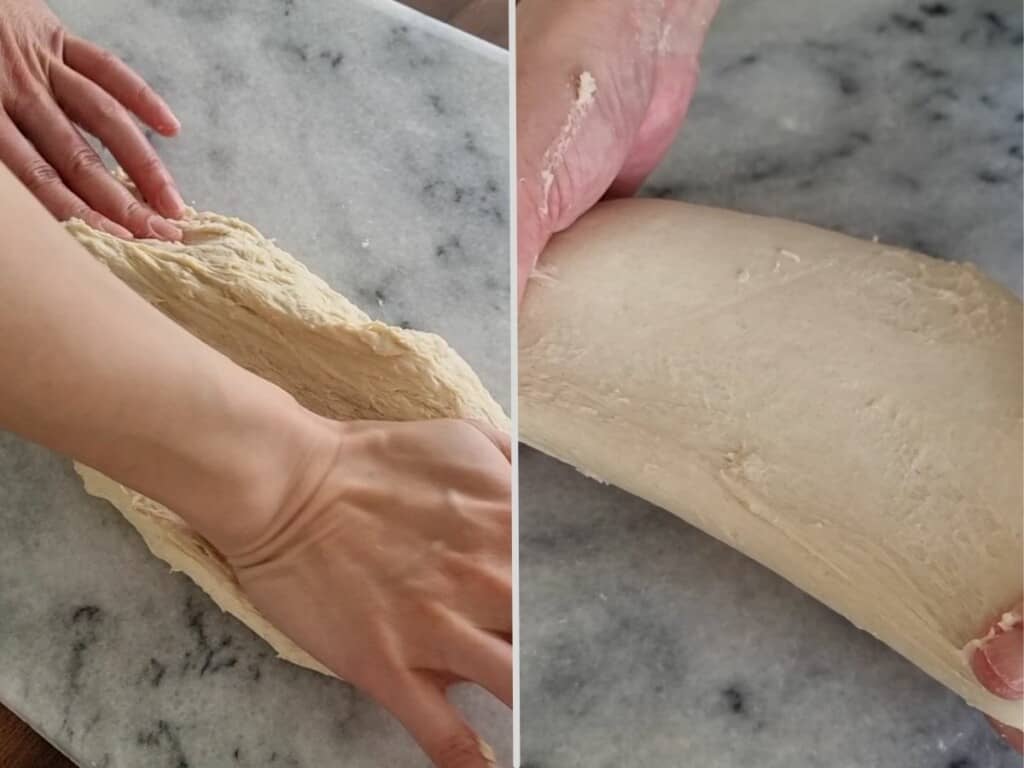
- Spread the dough and add the butter, cover it with dough then start to knead it again. It will become sticky and spread on the work surface. Use the bread cutter to gather the dough and continue to knead it for around 10 to 15 minutes or until it becomes smooth.
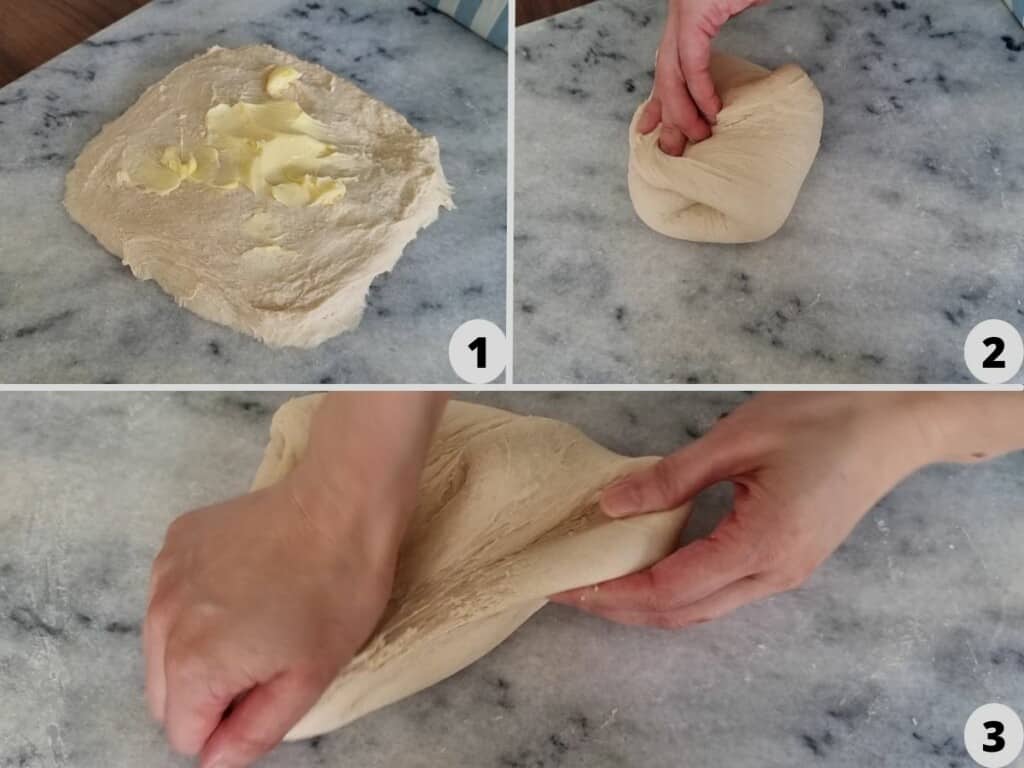
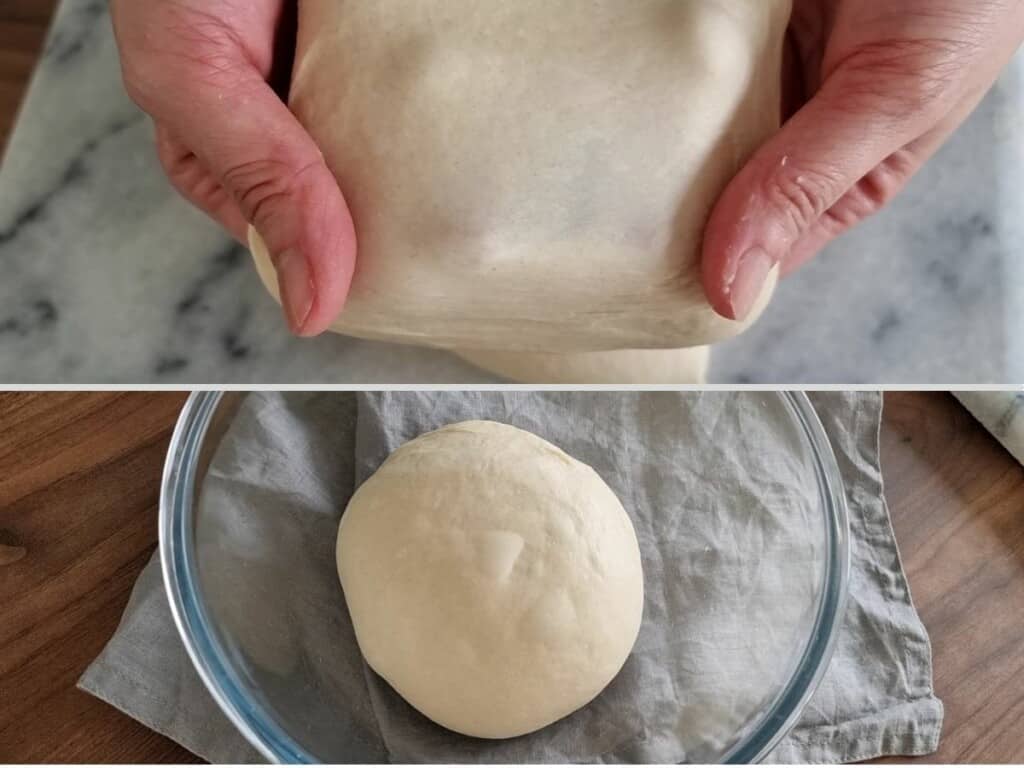
- Once the dough becomes smooth, check the gluten. Cut a piece of the dough and spread it very thin, if you can see your finger though the dough and it does not break easily, this means the gluten is ready. Next roll it into a ball and put it into a bowl and cover with wrap or a plastic bag to prevent to dough from drying out. Put it in a warm place to do the first rest for 50 minutes or until it doubles in size.
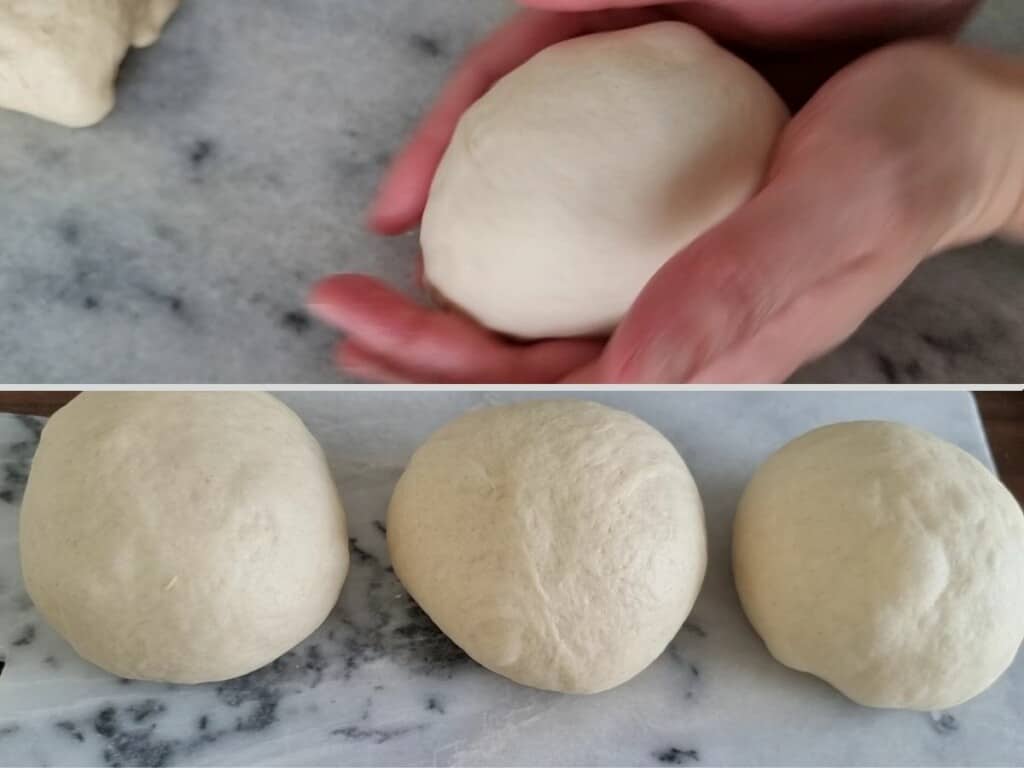
- Finger test (see notes) to check if the dough has rested enough. If the dough has rested enough, dust the bread flour on the surface, turn it out onto the work surface. Use your hand gentle push the air out and divide into 3 equal pieces.
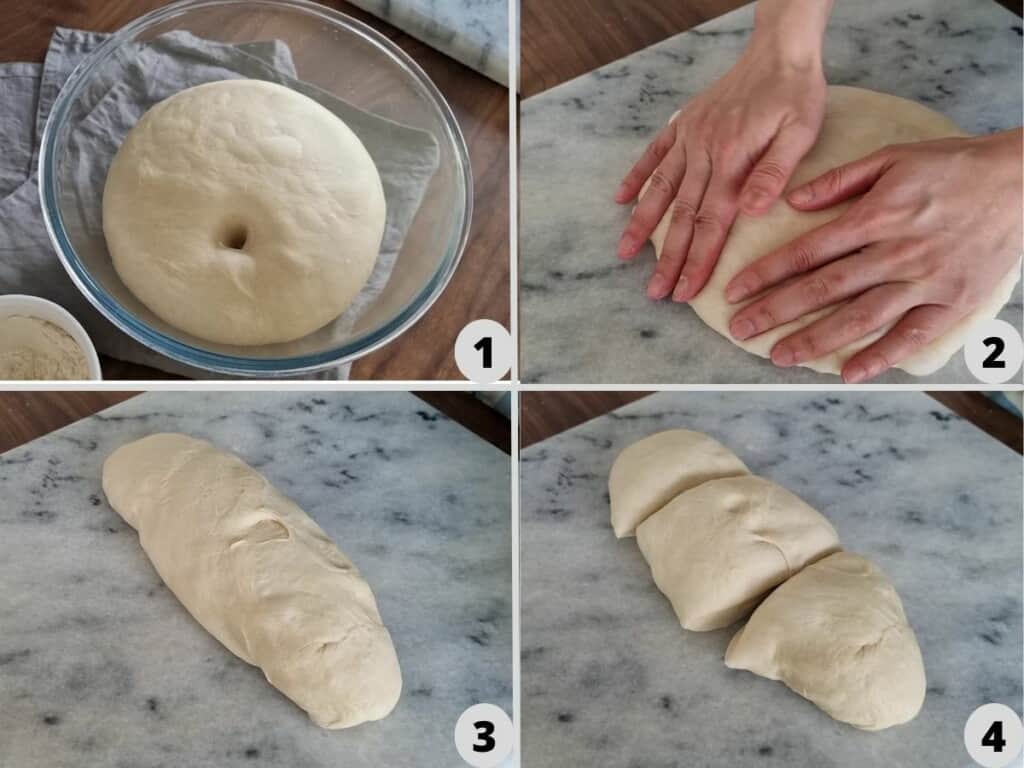
- Next shape each piece into a ball. Then leave them on the work surface and allow to rest for 15 – 20 minutes. Cover with wrap.
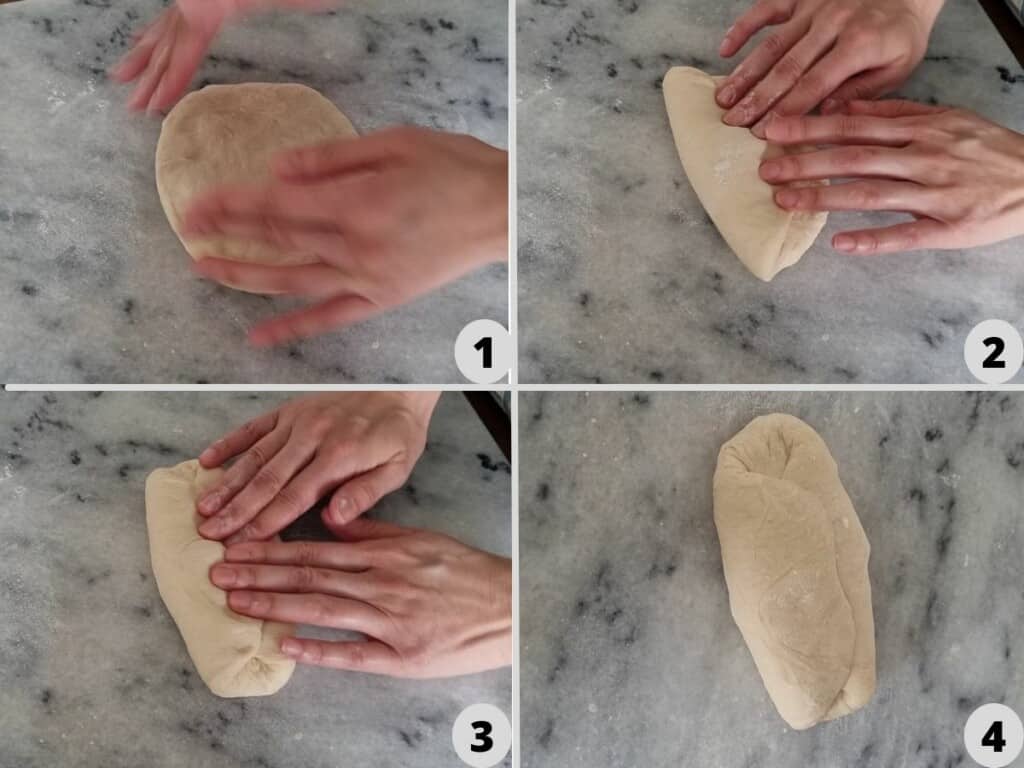
- Turn one bun over and flatten. Fold the top right of the dough one – third of the way towards the middle pressing it into the dough. Turn the dough 180° then repeat it, the edge of the left third should be slightly past the centre line. If your dough is very sticky dust a little flour just enough not too much.
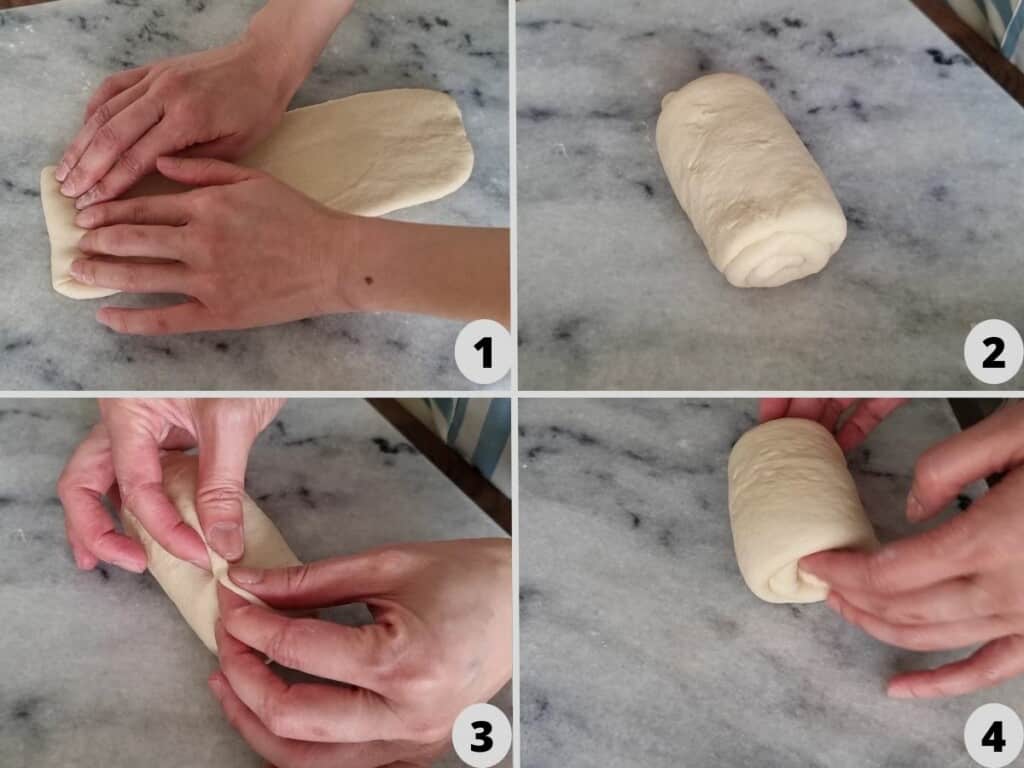
- Rotate the dough 90°, then put the rolling pin in the middle of the dough, roll out the dough away from you, rolling all the way through the top edge. Next roll out the dough toward you, rolling through the edge closest to you, repeat it until dough around 30cm long.

- Final shape: take the centre end of the dough furthest away from you. Then roll it back towards you. You want this not too tight and not too loose. Once you have your roll, pinch the end to seal it.
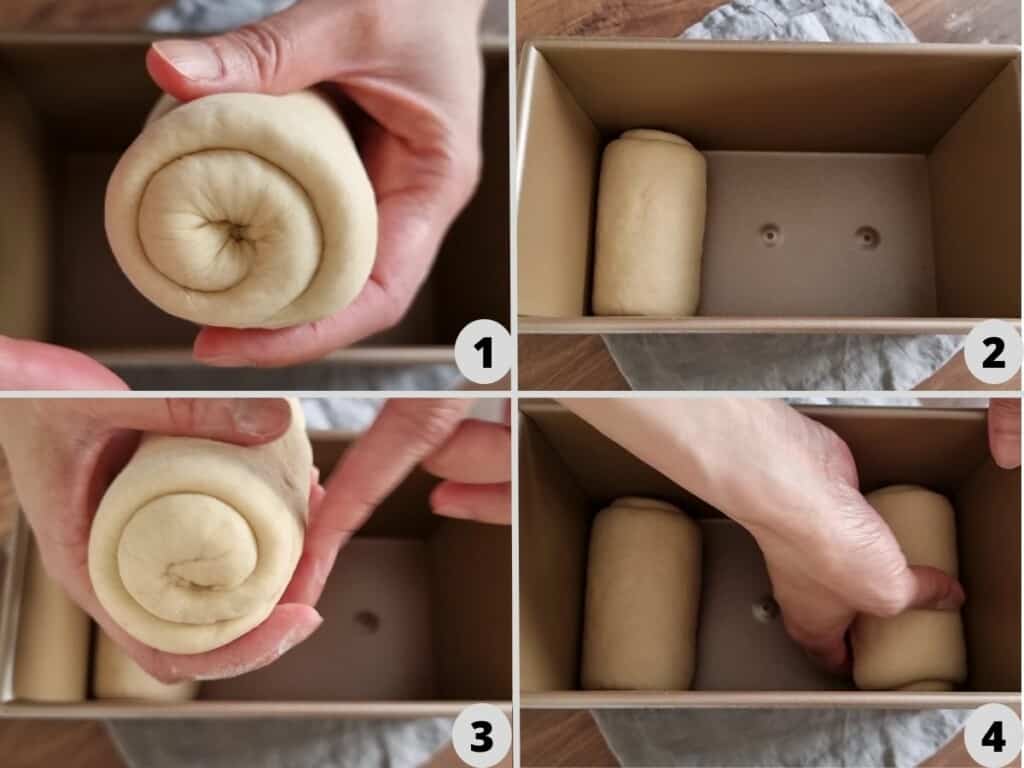
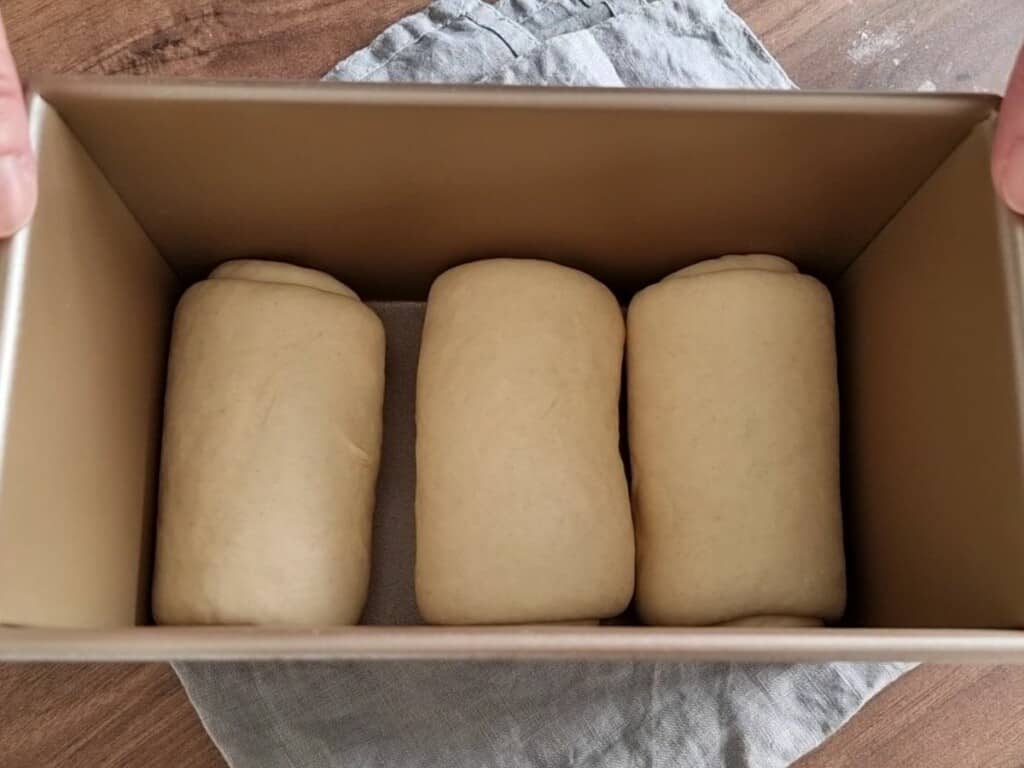
- When placing the dough in the tin you want the seal to face the edge of the tin. On the left side of the tin the swirl end, should face the tin and the same on the right. Make sure all the seals are placed on the bottom.
- Final proof: Let the dough rest in warm place for 50 minutes or until proof 90% of the tin cover with wrap or plastic bag.
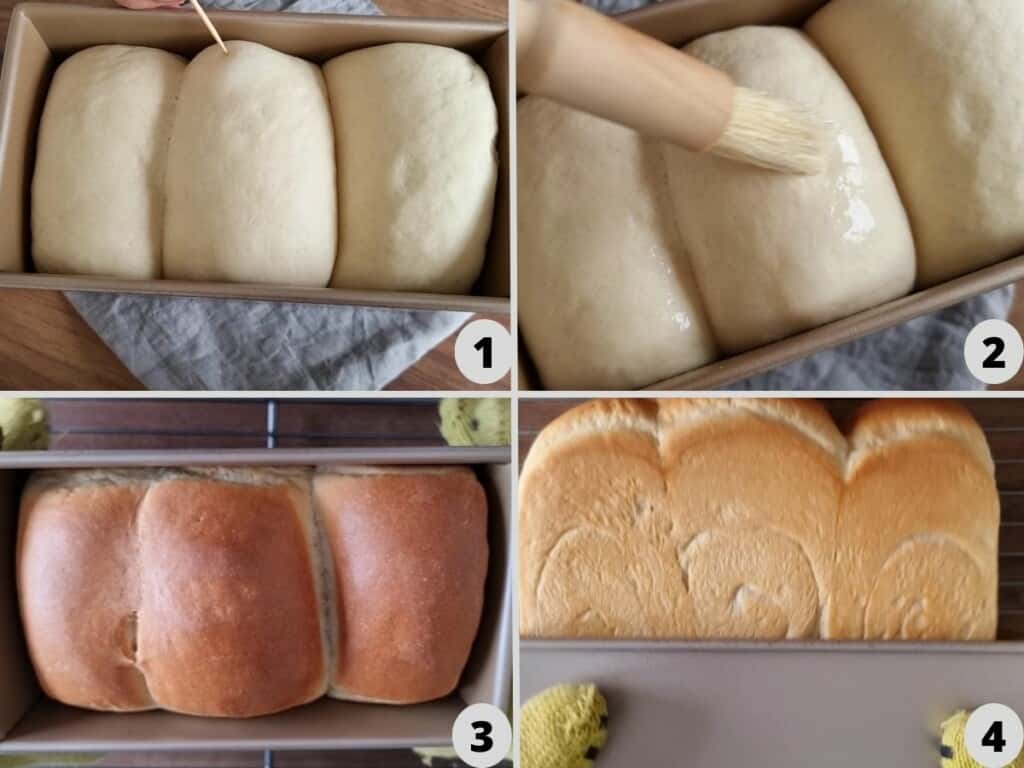
- Preheat the oven to 210°C.Once dough has been proofed, using the milk wash the top of the dough (if there are any large bubbles on the dough, use a toothpick to deflate them). Then put it into the oven change the temperature to 190°C, bake for 20 – 25 minutes (depending on your oven you may need to adjust the temperature)Once you have removed the bread form the oven, give the tin a gentle tap on the work surface. This will allow any extra steam or moisture to escape and stop being trapped inside.
- Move the bread on to the rack and leave to cool down completely. Enjoy your bread.