Continuing with my bread journey, I want to go back and experiment with creating nice chocolate buns. During my experiments I have tried several different fillings and we have eaten far too many, during the testing stage. Although Nutella is very popular with creators, I wanted to include a peanut butter element. Whilst shopping at my local store, I discovered Reese’s Minis Unwrapped these are just perfect. The size of them, gives you the option to add as few or as many as you like.
These little buns can be eaten in just a couple of bites, they are perfect with coffee, so make an ideal breakfast treat or just eaten as a snack.
For the bread I have used a variation on my milk bread recipe, this will give nice soft, fluffy bread. To this I have added organic cacao powder, to give a really lovely flavour and colour.
It is a lot fun making these chocolate buns, for both adults and children.
Let’s bake!

Chocolate Buns with Reese’s Mini Cups
Equipment
- 1 Mixing Bowl
- 1 Bread Cutter
- 1 Baking Tray
- 1 Oven
Ingredients
- 200 g Bread Flour or Strong Flour(100%)
- 12 g Organic Cacao Powder(6%)
- 3 g Salt(1.5%)
- 3 g Quick Yeast(1.5%)
- 30 g Caster Sugar(15%)
- 60 ml Water(30%) If it is warm day then just use room temperature water, if it is a cold day you should use warm milk around 25°C – 30°C.
- 80 ml Milk(40%) Same with water
- 20 g Unsalted Butter(10%)
- 20 pieces Reese's Peanut Butter Cups Minis
Topping
- some Cacao Powder for dusting
Instructions
- In a mixing bowl add the bread flour, cacao powder, salt, quick yeast, caster sugar, and mix them well. Next add water and milk then mix well. Once the dough has gathered together, turn it out onto the work surface.

- Start to knead the dough for 5 minutes or until the gluten has formed.

- Next spread the dough and add the unsalted butter, cover with the dough then start to knead it again for around 10 minutes or until it become smooth. Cut a piece of dough and spread it very thin, if you can see your finger though the dough, and it does not break easily, this means the gluten is ready.

- Roll the dough into a ball and put it back to the mixing bowl and cover with wrap. Leave the dough in a warm place to do the first ferment for 40 to 50 minutes or doubled in size.

- Dust your finger with flour, and gently poke it into the dough, if the dough retains the finger hole when you pull your finger away, it is fermented enough.

- If your dough is sticky, dust some bread flour on the surface, turn it out onto the work surface use your hand gentle push the air out and divide into 20 equal pieces. Next shape each piece into a small ball, then leave them to rest for 15 minutes, cover with wrap.

- After 15 minutes, put the dough on the surface the smooth side on the bottom, push the air out gently and push whole edge thiner then add a Reese's mini cup to the middle of the dough and seal it and roll each dough into ball again.

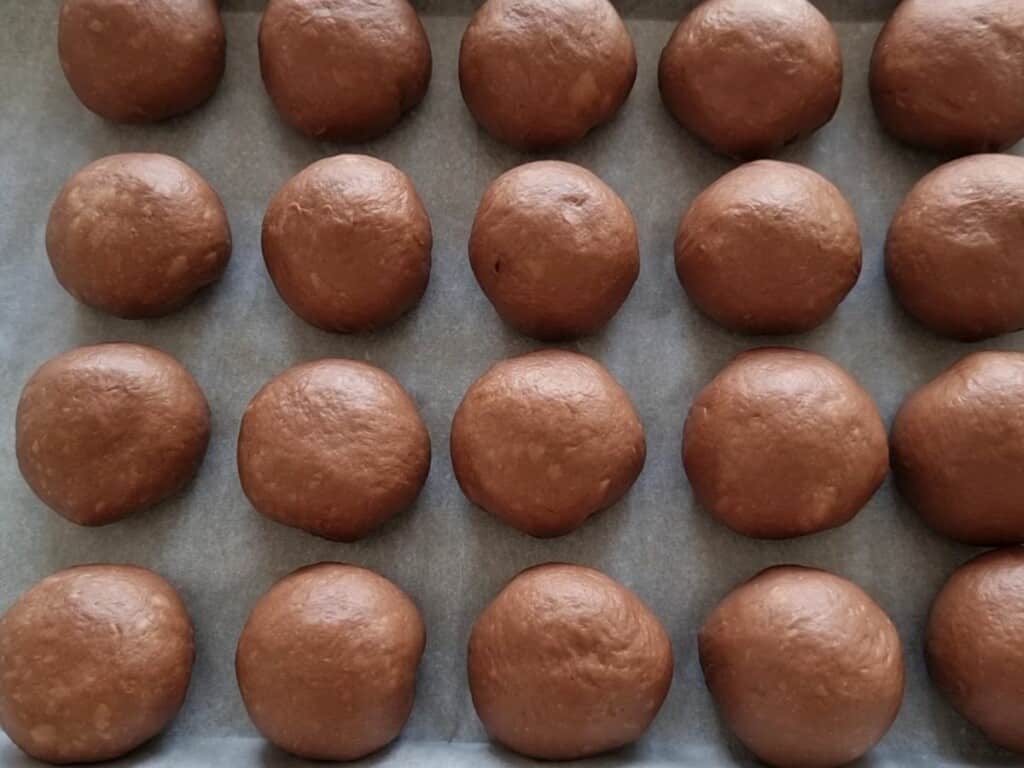
- Place the balls onto a baking tray, give them space to grow. Then leave them to do a final ferment for 30 – 40 minutes or until doubled in size in the warm place and cover with warp.

- Preheat the oven to 200°C(392°F)
- Once the dough is proved, dust with some cocoa powder on the top of the bread. Then put them into the oven and bake in 180°C(356°F) for 15 minutes.

- Once you have removed the bread from the oven, give the tray a gentle tap on the work surface. This will allow any extra steam or moisture to escape and stop it being trapped inside.

- Enjoy your bread.


